Super Robot Wars V Trailer 2
9 years ago

 :3 Aww.........
 Bought this game last Monday if I'm not mistaken... along with 'Spiderman : Web of Shadow' which I haven't touch yet... Must prioritised Gundam first. Hehehehehe...
 The DVD Cover... Exactly the same as mine.
 At first, I try the Exia and game after game I get a hang of how it goes... Exia's nice but the gun is not as powerful as Dynames's Rifle. You need to come closer to the enemy to get into real damaging actions.
 The bestest... (Well, I only played Exia and him for now...) Gundam ever. His one shot can kill a single normal enemy. Nice. All of his missions...(which I played till Stage 9-10) I got S Rank, compared to Exia - B, A, S Rank.
 Haven't try him yet as I'm still with Dynames stages...
 Haven't try this either. Can't wait to try those awesome bazooka. :)
 The Trans-Arm system are as the same as in the anime, where your unit will go faster and kick ass more. :P
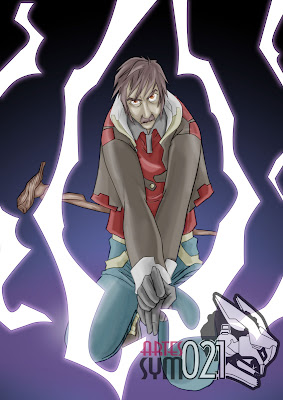 This is my arte for the week...
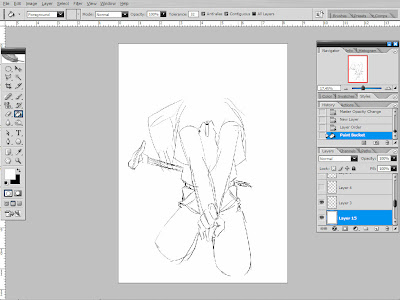 The not so cool Sketch...
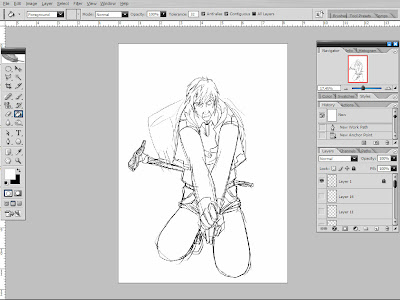 Draw back using a new layer...on top of the sketch layer...
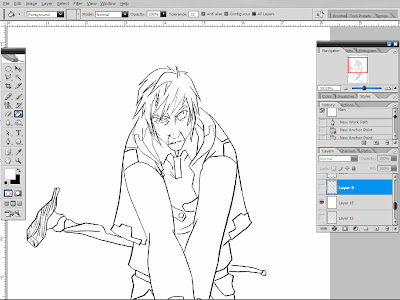 Hide the sketch layer...
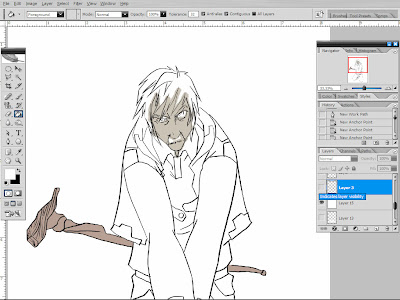 Start color....In this arte I use 2 color in one layer....as long as the 2 colors didn't met up with each other...
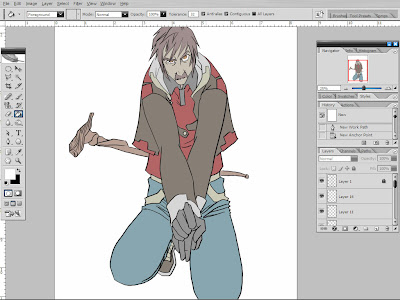 Plain color... Well, this is one hip old man...
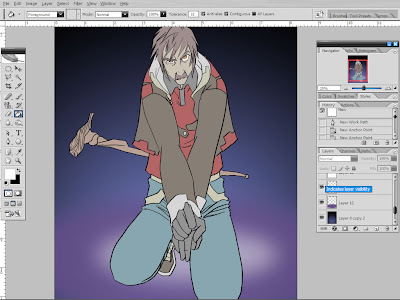 In this stage I made a simple BG. Notes : I sucked at making BGs...
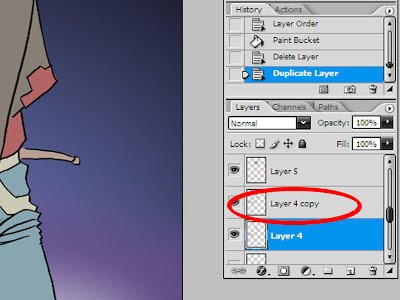 Back to the Skin layer again. Make a copy of it.
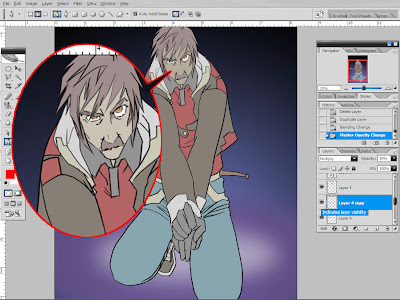 And set the new layer to 'Multiply'. Notice the differences?
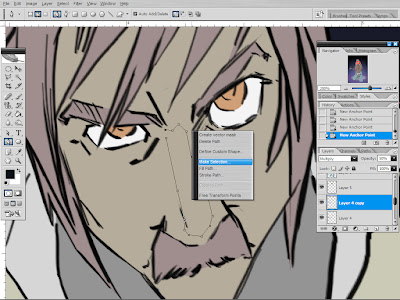 Use a pen tool andselect the area wher you want the skin to be lighter....
 The result...
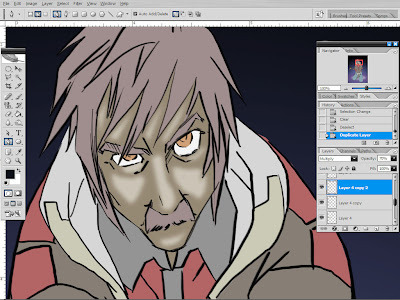 Make another copy of the last layer and do the same process...
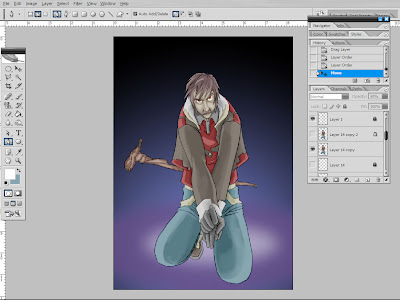 Do the same to all other colours... And merge them again after you satisfy with the results.
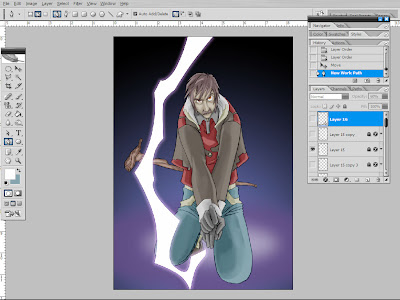 Now to make a Thunder. I use pen tool and do a shape...
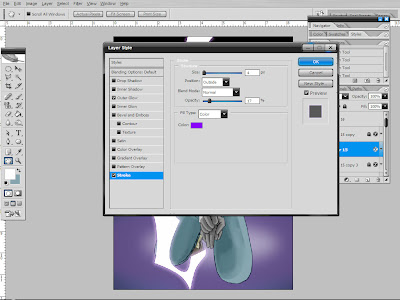 Here I adjust the 'Stroke' to my liking...
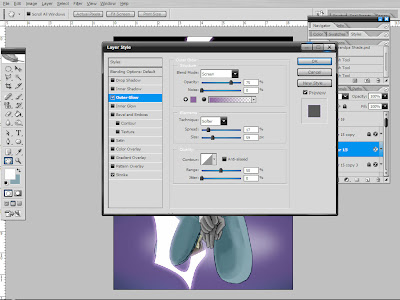 And the 'Outer Glow'....
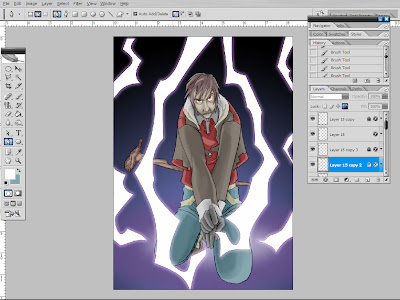 After that, copy the lightning layer, select all and delete.
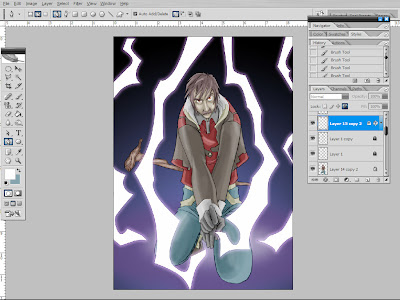 Make a new layer to adjust how the shadow changes with the interference of the lightning.
 Done!!
 For the time being, I'm just saving it for future-gunpla modelling. I find a very interesting side job that would let me work less and gain the salary more than twice from what I earning now. Still in the Interview process... If that's workout, I'll be working like hell on my gunplas!! :P
 He sees me everytime I came to pick up my Gurren Lagann goodies which I bought there, most of it. So he talked me in and I fell for it. And how can I resists Yoko/Yomako resin figure as fine as this. So I preordered it... Hehehe.... Ah, my nosse is bleeding...:3
 This is how its look right now. A minor update, so I just put it in this post. Took with my lil' bro's camphone. Darn nice than my usual snapshots...
 A little close-up.
 I always love how Kira and Lacus shows their love...